Apacheの設定方法です。今回はサーバーネーム、ドキュメントルート等の基本的なところを変更して指定したドメインでテストページが表示されるようにしてみます。
[環境]
CentOS7
Apache 2.4.6
Contents
Apacheの設定ファイルを開く
CentOS7のApacheの設定ファイルは「/etc/httpd/conf/httpd.conf」になります。
viで開きます。
|
0 1 2 |
#vi /etc/httpd/conf/httpd.conf |
viの使い方はキーボードの
「i」を押すと編集モード
「Esc」を押すと閲覧モード
閲覧モードで「/キーワード」を入力すると文字検索。次の検索候補へ移動するには「n」を押す。
となっています。
Apacheの設定(httpd.conf)
サーバー管理者メールアドレス設定
設定ファイルを開いたら「/ServerAdmin」と入力して、 ServerAdminの文字を検索します。
|
0 1 2 3 4 5 6 |
# ServerAdmin: Your address, where problems with the server should be # e-mailed. This address appears on some server-generated pages, such # as error documents. e.g. admin@your-domain.com # ServerAdmin root@localhost |
「root@localhost」の部分を任意のメールアドレスに変更します。
ServerNameの設定
|
0 1 2 3 4 5 6 7 8 |
# ServerName gives the name and port that the server uses to identify itself. # This can often be determined automatically, but we recommend you specify # it explicitly to prevent problems during startup. # # If your host doesn't have a registered DNS name, enter its IP address here. # ServerName www.example.com:80 |
一番下の行は#でコメントアウトされています。#を削除して、任意のドメイン又はIPアドレスに変更してください。
IPの場合は「ServerName 192.168.56.101:80」となります。最後の:80は利用するポート番号になっています。
ドキュメントルートの設定
Web公開するファイルを置くディレクトリの設定です。
「/DocumentRoot」を検索します。
|
0 1 2 3 4 5 6 |
# DocumentRoot: The directory out of which you will serve your # documents. By default, all requests are taken from this directory, but # symbolic links and aliases may be used to point to other locations. # DocumentRoot "/var/www/html" |
通常はこのままでOKです。任意で変更したい場合はここでディレクトリを指定します。
先頭が「.」のファイルを使えるように
上記のDocumentRootの設定のすぐ下に以下のような記載があります。
|
0 1 2 3 4 5 6 7 |
# Relax access to content within /var/www. # <Directory "/var/www"> AllowOverride None # Allow open access: Require all |
AllowOverride None を AllowOverride ALL に変更します。
|
0 1 2 3 4 5 6 |
<Directory "/var/www"> AllowOverride ALL # Allow open access: Require all granted </Directory> |
全て編集が終わったら「Esc」を押してさらに「:wq」で変更を保存します。
Apacheの再起動
|
0 1 2 |
# systemctl restart httpd |
でhttpd(Apache)を再起動します。
※再起動したのを確認するには「# systemctl status httpd」を入力し、Activeのところが active(running)になっていればhttpdは動いています。
表示の確認
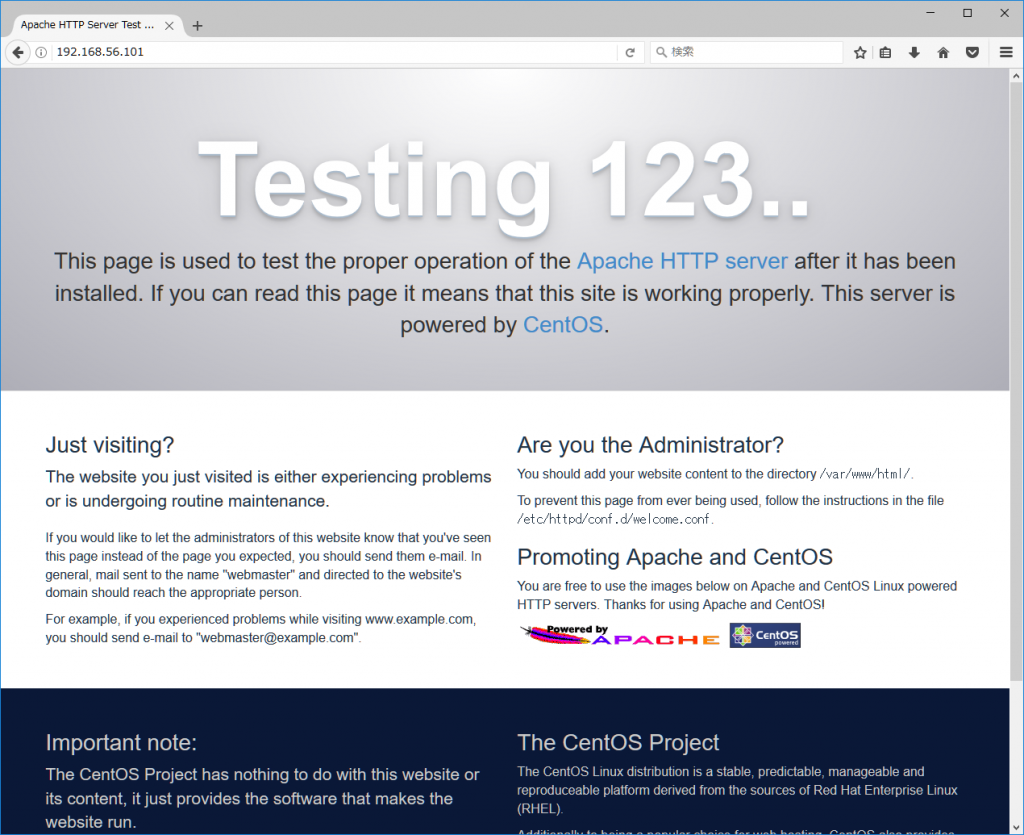
ApacheのServerNameに指定したURLをブラウザに入力して表示を確認します。
今回はローカル環境で「192.168.56.101」というサーバーネームにしたので、ブラウザに「192.168.56.101」と入力しました。以下のようにApacheのデフォルト画面が表示されます。
