HomeBrewのインストール
Homebrew(ホームブルー)はmacOS(LINUX)上のパッケージ管理システムです。パッケージのインストール、管理、アンインストールなどを行うことができます。
簡単にパッケージをインストールでき、パッケージの依存関係などのチェックも行ってくれるので便利です。
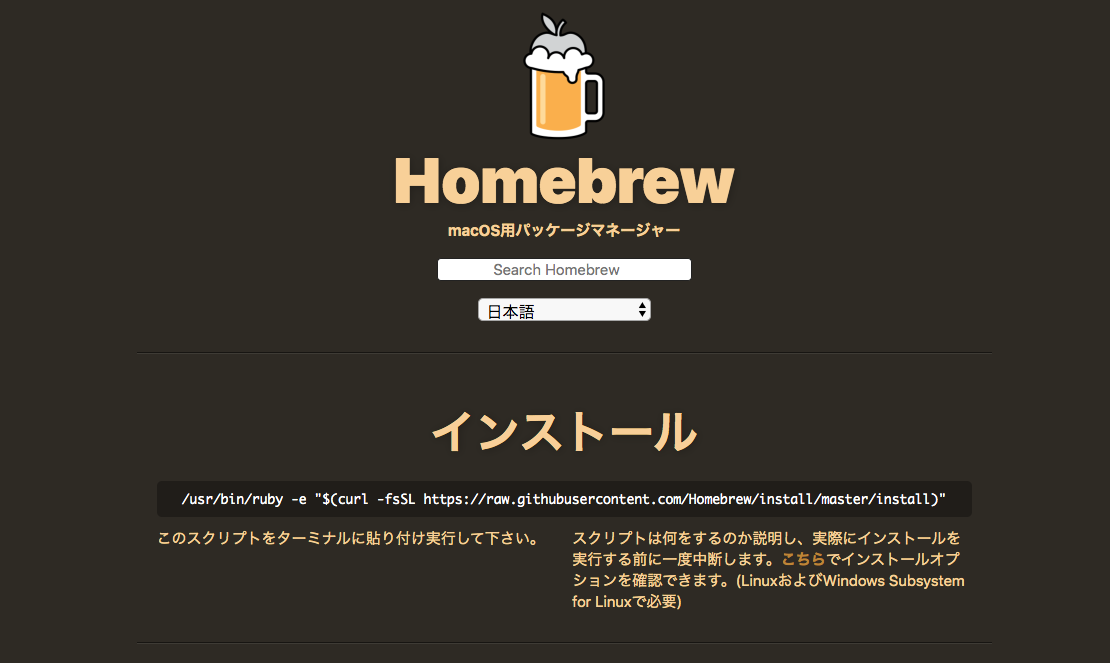
Macのターミナルを起動します。HomeBrewの公式ホームページに掲載されているコマンドをターミナルにコピー&ペーストして実行します。
|
0 1 2 |
/usr/bin/ruby -e "$(curl -fsSL https://raw.githubusercontent.com/Homebrew/install/master/install)" |
|
0 1 2 3 4 5 6 7 8 9 10 11 12 13 14 15 16 17 18 19 20 21 22 23 24 25 26 27 28 |
==> This script will install: /usr/local/bin/brew /usr/local/share/doc/homebrew /usr/local/share/man/man1/brew.1 /usr/local/share/zsh/site-functions/_brew /usr/local/etc/bash_completion.d/brew /usr/local/Homebrew ==> The following existing directories will be made group writable: /usr/local/bin /usr/local/include /usr/local/lib /usr/local/lib/pkgconfig ~~~ 省略 ~~~ ==> Installation successful! ==> Homebrew has enabled anonymous aggregate formulae and cask analytics. Read the analytics documentation (and how to opt-out) here: https://docs.brew.sh/Analytics ==> Homebrew is run entirely by unpaid volunteers. Please consider donating: https://github.com/Homebrew/brew#donations ==> Next steps: - Run `brew help` to get started - Further documentation: https://docs.brew.sh |
途中でルートパスワードを聞かれたり、Yes Noを聞かれたりします。
5分ほどでインストールが完了となります。
nodebrewのインストール
|
0 1 2 |
brew install nodebrew |
|
0 1 2 3 4 5 6 7 8 9 10 11 12 13 14 15 16 17 18 19 20 21 |
==> Downloading https://github.com/hokaccha/nodebrew/archive/v1.0.1.tar.gz ==> Downloading from https://codeload.github.com/hokaccha/nodebrew/tar.gz/v1.0.1 ######################################################################## 100.0% ==> Caveats You need to manually run setup_dirs to create directories required by nodebrew: /usr/local/opt/nodebrew/bin/nodebrew setup_dirs Add path: export PATH=$HOME/.nodebrew/current/bin:$PATH To use Homebrew's directories rather than ~/.nodebrew add to your profile: export NODEBREW_ROOT=/usr/local/var/nodebrew Bash completion has been installed to: /usr/local/etc/bash_completion.d zsh completions have been installed to: /usr/local/share/zsh/site-functions ==> Summary 🍺 /usr/local/Cellar/nodebrew/1.0.1: 8 files, 38.6KB, built in 7 seconds |
上記の表示内にパスの設定が書いてあるので、下記の2つのパスを通します。
|
0 1 2 3 |
$ export PATH=$HOME/.nodebrew/current/bin:$PATH $ export NODEBREW_ROOT=/usr/local/var/nodebrew |
パスを編集します。
|
0 1 2 |
source /.bash_profile |
ここでエラーメッセージが表示されました。
|
0 1 2 |
-bash: /.bash_profile: No such file or directory |
ファイルやディレクトリが無いと言われます。
viでファイルを作成します。
|
0 1 2 |
$ sudo vi .bash_profile |
ファイルに下記を記載します。
|
0 1 2 |
export PATH=$HOME/.nodebrew/current/bin:$PATH |
viで「:wq」を入力して保存。
もう一度、下記を実行
|
0 1 2 |
source /.bash_profile |
nodebrewのセットアップを行います。
|
0 1 2 |
nodebrew setup |
下記のような表示が現れます。
|
0 1 2 3 4 5 6 7 8 9 |
Fetching nodebrew... Installed nodebrew in $HOME/.nodebrew ======================================== Export a path to nodebrew: export PATH=$HOME/.nodebrew/current/bin:$PATH ======================================== |
バージョンを設定してインストール
バージョンを確認します。
|
0 1 2 |
nodebrew ls-remote |
最新はv13.8.0でしたので、v13.8.0をインストールしてみます。
|
0 1 2 |
nodebrew install-binary v13.8.0 |
インストールの確認
|
0 1 2 3 4 |
$ nodebrew ls v13.8.0 current: none |
インストールしたバージョンが表示されました。
しかし「current: none」と表示されています。これから利用するバージョンを指定します。
|
0 1 2 |
nodebrew use v13.8.0 |
再度、「nodebrew ls」を実行してみます。
|
0 1 2 3 4 |
$ nodebrew ls v13.8.0 current: v13.8.0 |
これで無事、インストールと設定が完了しました。
最後、確認作業です。「node -v」「rpm -v」をターミナルから入力します。
|
0 1 2 3 4 5 6 |
$ node -v v13.8.0 $ npm -v 6.13.6 |
両方とも表示されたのでOKです。
Reactの設定
グローバルで利用するので「-g」オプションを付けます。
|
0 1 2 |
$ npm install -g create-react-app |